Ultimate Guide to Windows Gaming Performance Tweaks
Nothing ruins a crucial match faster than a sudden FPS drop or an annoying burst of stuttering. It’s incredibly frustrating, especially if you’ve recently invested in top-tier hardware. But here’s the thing: your operating system might actually be the bottleneck holding your frame rates back. To squeeze every ounce of power out of your rig, you’ll need to apply the right windows gaming performance tweaks to unlock its true potential.
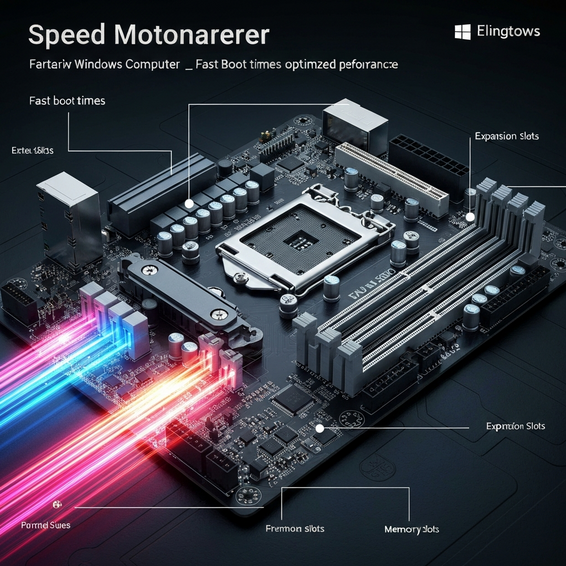
Out of the box, Windows is built to be a jack-of-all-trades. It constantly juggles system resources across background apps, essential services, and whatever program you have actively open. While great for general multitasking, this balancing act is a nightmare for gaming, often leading to unwanted latency and dropped frames. If you truly want to optimize Windows for gaming, you have to reclaim those hijacked resources.
Throughout this guide, we’ll walk you through a series of highly actionable steps designed to eliminate frustrating bottlenecks and significantly reduce input lag. Ranging from quick settings adjustments to more advanced, IT-level configurations, these carefully selected tweaks will pave the way for a smoother, much more responsive gaming experience.
Why You Need Windows Gaming Performance Tweaks
It’s natural to wonder why a brand-new, completely fresh Windows installation doesn’t just hand you peak gaming performance on a silver platter. The reality is that modern operating systems come bogged down with aggressive telemetry, hidden background services, and default power-saving states. Essentially, the OS is wired to prioritize energy efficiency and general multitasking rather than raw, unfiltered processing power.
Whenever you launch your favorite title, your OS scrambles to dynamically allocate CPU cycles, system RAM, and GPU resources. If Windows suddenly decides it’s the perfect time to download an update or run a background indexing service, you’re going to feel it in the form of a massive FPS drop. This constant tug-of-war for system resources is actually the primary culprit behind that maddening micro-stuttering.
Beyond background processes, unoptimized GPU settings and misconfigured network protocols can silently introduce nasty latency. By adopting a more structural, IT-level mindset toward optimizing your Windows operating system, you can systematically hunt down these bottlenecks. Ultimately, you’ll force your hardware to prioritize your game above absolutely everything else.
Quick Fixes: Basic Solutions to Optimize Windows for Gaming
Before we dive headfirst into complex registry edits and advanced third-party tools, it’s smart to tackle the fundamentals. These quick fixes are incredibly safe, straightforward to apply, and can provide an immediate, noticeable boost to your frame rates.
- Enable Windows Game Mode: Both Windows 10 and 11 come with a built-in Game Mode that works surprisingly well. It temporarily suspends background activities, like pesky Windows updates and pop-up notifications, while you play. Simply search for “Game Mode” in your Start menu and toggle the switch to the “on” position.
- Switch to the High Performance Power Plan: By default, Windows relies on a “Balanced” power plan to keep electricity consumption down. To ensure your CPU is free to hit its maximum clock speeds, open up the Control Panel, navigate to Power Options, and confidently select “High Performance.”
- Update Your GPU Drivers: Sticking with outdated drivers is a foolproof way to leave performance on the table. Make sure to use NVIDIA GeForce Experience or AMD Adrenalin to fetch the latest driver updates, as they frequently roll out game-specific optimizations for new releases.
- Disable Xbox Game Bar and Background Recording: While the Xbox Game Bar certainly has its uses, the background recording feature (DVR) is a massive system resource hog. Head over to Settings > Gaming > Captures, and turn off background recording to shave off precious milliseconds of input lag.
- Adjust Visual Effects for Best Performance: Right-click ‘This PC’ and make your way to Properties > Advanced system settings > Performance Settings. From there, select the “Adjust for best performance” option. This will strip away all those unnecessary UI animations that secretly eat into your GPU cycles.
Advanced Solutions for Maximum Frame Rates
If you’ve already breezed through the basic fixes but are still hungry for more frames, it’s time to roll up your sleeves and explore some advanced configurations. These technical adjustments dig a little deeper, focusing heavily on system scheduling and aggressive bloatware removal.
1. Enable Hardware-Accelerated GPU Scheduling (HAGS)
Hardware-Accelerated GPU Scheduling (or HAGS, for short) empowers your graphics card to manage its very own memory pool. By taking that heavy lifting off your processor’s shoulders, it proves incredibly effective at minimizing latency—especially if you play heavily CPU-bound games.
To turn this feature on, navigate through Settings > System > Display > Graphics > Default graphics settings. Simply toggle “Hardware-accelerated GPU scheduling” on, and then give your computer a quick restart. Just keep in mind that you’ll need a relatively modern GPU running the latest drivers to even see this option in your menus.
2. Debloat Windows via PowerShell
Fresh out of the box, Windows is packed full of unneeded applications and silent telemetry services. By stripping these out, you instantly free up valuable RAM and drastically cut down on the number of background threads your processor is forced to juggle.
A great way to handle this is by utilizing community-trusted, open-source PowerShell scripts, like the popular Windows10Debloater. Firing up these scripts effortlessly wipes out default bloatware, shuts down intrusive telemetry, and prevents useless background apps from booting on startup. Of course, you should always remember to create a system restore point before running any advanced deployment scripts.
3. Optimize Network TCP/IP Settings
If you’re into competitive multiplayer gaming, you know that network lag can be just as punishing as a terrible frame rate. Thankfully, you can configure powerful network latency optimizations simply by disabling Nagle’s Algorithm. Normally, this process bundles your data packets together before sending them off, which artificially delays your actions.
To fix this, launch the Registry Editor (type regedit in your search bar) and carefully navigate your way to HKEY_LOCAL_MACHINE\SYSTEM\CurrentControlSet\Services\Tcpip\Parameters\Interfaces. Once you locate your active network connection, right-click to create two brand-new DWORD (32-bit) values: TcpAckFrequency and TCPNoDelay. Change the value data for both of these entries to 1, effectively forcing your PC to transmit packets immediately.
4. Disable System Main (Superfetch)
Formerly known as Superfetch, System Main is a background service designed to pre-load your most frequently used applications straight into your RAM. While that might sound pretty helpful on paper, in reality, it notoriously causes high disk usage and disruptive CPU spikes right in the middle of your gaming sessions.
Shutting it down is easy: just press Win + R, type services.msc, and hit Enter. Scroll down the list until you spot “SysMain,” right-click it, and choose Properties. From there, change the Startup type to “Disabled” and hit the Stop button. Doing this is especially critical if you’re trying to eliminate random, annoying stutters in massive open-world titles.
Best Practices for Sustained Performance
Making a few one-time adjustments to your software is really only half the battle. If you want to maintain that top-tier, buttery-smooth performance over the long haul, you need to commit to a few ongoing best practices and keep a watchful eye on your hardware.
- Monitor Your Thermals: No matter how many brilliant software tweaks you apply, they simply cannot override hardware thermal throttling. Make sure your PC case is getting adequate airflow, and take the time to periodically clean the dust out of your fans and heatsinks.
- Manage Startup Applications: Every single app that stubbornly launches during startup is going to siphon away your RAM. Open up the Task Manager, click over to the Startup tab, and ruthlessly disable everything except your essential system services and preferred game launchers.
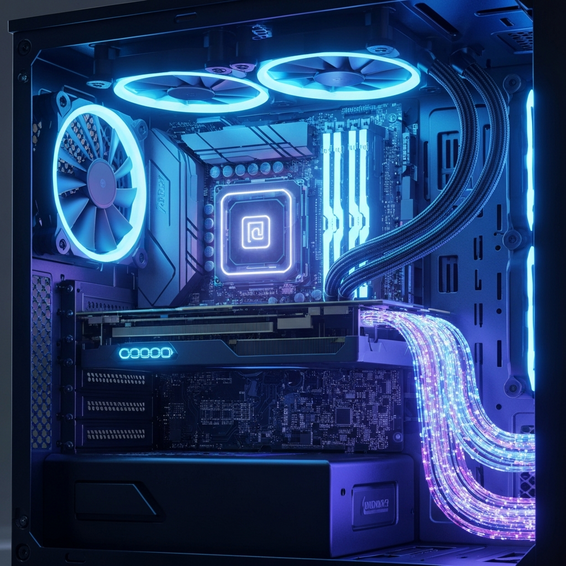
- Install Games on an NVMe SSD: If you’re still running your OS and heavy games off a clunky HDD or an older SATA SSD, making the leap to a lightning-fast NVMe M.2 drive will be life-changing. It drastically cuts down your loading screens and completely eliminates those frustrating texture streaming stutters.
- Configure Mouse Acceleration: Don’t let Windows mess with your aim. Head into your mouse settings, click on “Additional mouse options,” find the Pointer Options tab, and make sure “Enhance pointer precision” is totally unchecked. This guarantees a true, 1:1 input ratio for your mouse movements.
- Optimize Discord and Web Browsers: By default, side apps love stealing GPU power. Dive into Discord’s Advanced Settings and toggle “Hardware Acceleration” off. Make sure to do the exact same thing for Google Chrome or Microsoft Edge so you can dedicate 100% of your GPU’s raw power to your game.
Recommended Tools and Resources
To properly automate and keep an eye on your newly optimized gaming environment, we strongly suggest integrating a few specialized tools into your daily setup. These utilities are fantastic because they offer granular, highly specific control over how your hardware resources are utilized.
- MSI Afterburner: Widely considered the gold standard for tracking hardware statistics, this tool allows you to safely overclock your GPU settings so you can squeeze out a few extra frames.
- Process Lasso: This is a truly incredible CPU affinity tool. It operates quietly in the background, automatically preventing rogue background processes from suddenly interfering with your game’s CPU priority.
- O&O ShutUp10++: A fantastic, totally free antispyware utility that hands you absolute control over exactly which Windows telemetry functions are allowed to run in the background.
Disclaimer: A few of the tools mentioned above may contain affiliate links. If you decide to make a purchase through our links, it helps support the ongoing technical research and content creation over at alven.shop, all at absolutely no extra cost to you.
Frequently Asked Questions (FAQ)
Does Windows Game Mode actually improve performance?
Absolutely. While it had a rocky start, Game Mode has evolved and improved significantly since its initial release. Sure, it might not drastically multiply your maximum framerate if you’re already on a super high-end rig, but it works wonders for stabilizing frame pacing. It stops those sudden, jarring FPS drops by effectively pausing background updates and silencing notifications while you play.
How much RAM do I need for optimal PC gaming?
If you are playing modern titles, consider 16GB of RAM to be the absolute bare minimum requirement these days. However, if you want to guarantee a totally stutter-free experience while simultaneously running Discord, a web browser, and your background optimizations, upgrading to 32GB of dual-channel memory is highly recommended.
Should I use a custom “debloated” Windows OS?
It’s tempting, but proceed with caution. While custom operating systems—like Ghost Spectre or ReviOS—are incredibly popular within the extreme tweaking community, they come with risks. They can easily introduce unwanted security vulnerabilities or trigger major compatibility issues with aggressive multiplayer anti-cheat systems. Generally speaking, we always recommend taking the time to manually configure your official Windows installation instead.
Does disabling full-screen optimizations help?
Honestly, it completely depends on the game you’re playing. Going into a game’s executable properties and disabling full-screen optimizations can certainly reduce input lag for older DirectX 9 and 11 titles. On the flip side, if you’re playing modern DirectX 12 games, you’re usually much better off leaving the feature enabled for optimal performance.
Conclusion
At the end of the day, maximizing your PC’s potential doesn’t always have to involve shelling out cash for expensive hardware upgrades. By simply taking the time to understand how your operating system actually manages its resources, you can manually force Windows to prioritize your gaming experience over trivial background tasks.
Implementing these windows gaming performance tweaks—whether that means flipping on Game Mode or expertly managing your CPU scheduling with Process Lasso—will do wonders to dramatically reduce input lag and smooth out your overall frame rates. Don’t put it off; take a little time to audit your system today, strip away that bloated software, and carefully fine-tune your GPU settings.
Beneath the surface, your hardware is brimming with untapped potential just waiting to be fully unleashed. Start applying these straightforward optimizations right now, and get ready to enjoy a distinct, noticeable competitive edge during your very next gaming session.