How to Speed Up Windows 11: The Ultimate Performance Guide
Dealing with a sluggish operating system can be incredibly frustrating, but you definitely aren’t the only one experiencing this. Even if you’re running a rig with top-tier hardware, annoying lags and delays tend to creep in over time.
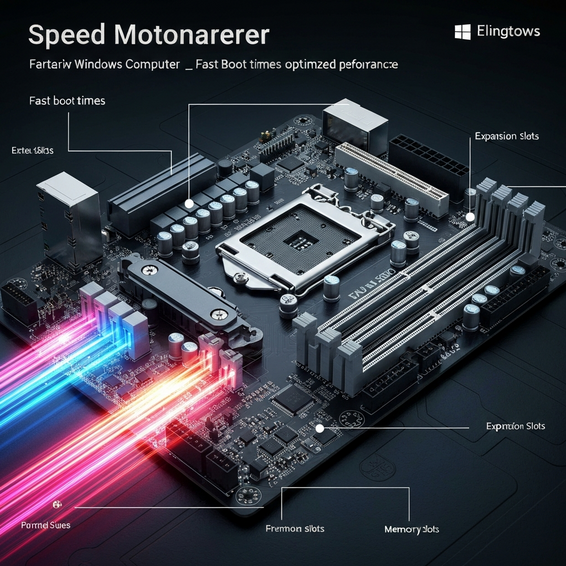
Figuring out how to speed up Windows 11 is a must, whether you’re a hardcore gamer, a software developer, or just an everyday user browsing the web. While Microsoft’s newest OS looks great thanks to its visual upgrades, it’s also weighed down by heavy background services. Right out of the box, these default settings can easily bottleneck your machine.
In this guide, we’ll walk you through the absolute best strategies for Windows 11 performance optimization. From executing a straightforward Windows 11 bloatware removal to applying advanced system tweaks, we’ll cover everything you need to know. Let’s unlock your computer’s true potential.
Why Your PC Slows Down: How to Speed Up Windows 11 Effectively
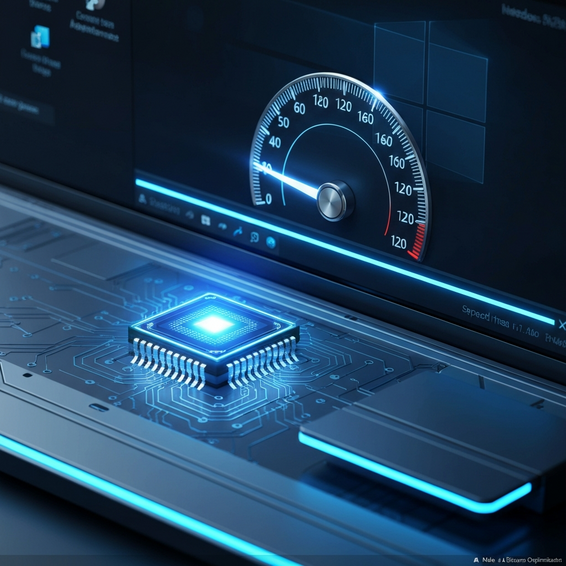
Before jumping into the fixes, it helps to understand exactly what’s bogging down your system in the first place. Windows 11 brings a handful of demanding new features to the table, such as Virtualization-Based Security (VBS) and aggressive telemetry. While useful, these processes constantly chew up valuable CPU cycles and RAM in the background.
On top of that, many third-party apps automatically set themselves to launch the moment you boot up your PC, causing noticeable system drag. Add in months of registry bloat, scattered cache files, and minor drive fragmentation, and your computer’s responsiveness takes a major hit.
If you really want to improve PC speed, a multi-layered approach works best. We’ll kick things off with a few basic adjustments before moving into deeper, IT-level configurations designed to fully debottleneck Windows 11.
Quick Fixes: Basic Solutions for Immediate Speed
You certainly don’t need a computer science degree to see an immediate boost in performance. Start by applying these relatively simple adjustments to free up system resources in just a few minutes.
1. Disable Startup Apps
Background applications are arguably the biggest culprits behind agonizingly slow boot times. To get things moving faster, you should absolutely disable startup apps Windows 11 tries to load by default.
- Press
Ctrl + Shift + Escto open up the Task Manager. - Navigate to the Startup apps tab (represented by the speedometer icon).
- Right-click on any high-impact applications that you don’t need right at startup.
- Select Disable.
2. Turn Off Visual Effects
There is no denying that Windows 11 is a gorgeous operating system. However, all those sleek transparency effects and smooth animations actively drain your CPU and GPU power.
- Press the
Windows Keyand type “Advanced system settings”. - Under the Performance section, click on Settings.
- Choose Adjust for best performance, or take a moment to manually uncheck unnecessary shadow and animation effects.
- Click Apply, and then hit OK.
3. Uninstall Bloatware
Pre-installed junk software doesn’t just eat up your storage space; it also runs pointless background services. Taking the time to perform a thorough Windows 11 bloatware removal is one of the quickest ways to free up vital system resources.
- Head over to Settings > Apps > Installed apps.
- Scroll through the list and pinpoint any pre-installed games or clunky OEM tools.
- Click the three dots next to the unwanted app and select Uninstall.
Advanced Solutions: A Dev/IT Perspective
If you’re a tech enthusiast or an IT professional, you probably know that surface-level tweaks are rarely enough. Let’s dive a little deeper into some advanced methods so you can squeeze every last drop of performance out of your hardware.
Disable Virtualization-Based Security (VBS)
While VBS does an excellent job of protecting your machine against malware, it can inadvertently throttle gaming and raw compute performance by up to 15%. Disabling this feature can be a game-changer if you prioritize maximum speed over enterprise-grade security.
- Type Core Isolation into the Windows Start menu search bar.
- Toggle the Memory Integrity switch to the Off position.
- Restart your computer to apply the new settings.
Modify Power Plan Settings
By default, Windows utilizes a “Balanced” power plan in an effort to save energy. Shifting away from this default setting can drastically boost Windows performance, especially on desktop rigs.
- Open up the Control Panel and navigate to Power Options.
- Click on Show additional plans to reveal hidden settings.
- Select High Performance or, if it’s available on your system, Ultimate Performance.
- Pro-tip: Want to force the Ultimate Performance plan to appear? Open the Command Prompt as an Administrator and run the following command:
powercfg -duplicatescheme e9a42b02-d5df-448d-aa00-03f14749eb61.
Optimize Windows Registry
When executed carefully, Windows 11 registry tweaks can completely eliminate menu delays and optimize how your system schedules tasks. Just remember: you should always back up your registry before tinkering with these files.
- Press
Win + R, typeregedit, and hit Enter. - Carefully navigate to
HKEY_CURRENT_USER\Control Panel\Desktop. - Locate the
MenuShowDelaystring and change its value from 400 down to 10. Once applied, this simple edit makes your right-click menus snap open almost instantly.
Best Practices for Long-Term Performance
Speeding up your PC initially is really only half the battle. If you want to maintain that snappy performance over the long haul, you’ll need to adopt consistent habits and perform regular maintenance.
Keep Your System Updated
Microsoft frequently rolls out software patches designed to fix memory leaks and optimize hardware driver compatibility. Because of this, you should always make sure you’re installing the latest Windows cumulative updates.
Manage Your Storage Effectively
It’s a well-known fact that Solid State Drives (SSDs) slow down dramatically once they cross the 80% capacity mark. To avoid this storage bottleneck, regularly run the built-in Storage Sense utility. This handy tool safely clears out temporary files and empties your recycle bin automatically.
Schedule Routine Malware Scans
Nothing destroys system performance quite like hidden malware or sneaky background cryptominers. Make it a habit to use Windows Defender—or a highly trusted third-party antivirus program—to run deep scans on a weekly basis.
If you’re looking to further optimize your overall tech environment and server workflows, be sure to check out our broader guides on optimizing your HomeLab server setup for maximum network and application throughput.
Recommended Tools and Resources
If you want to streamline the optimization process even further, consider integrating a few trusted third-party tools into your routine.
- CCleaner: This classic utility is fantastic for wiping out stubborn temporary files and safely cleaning up broken registry entries. Get CCleaner Here.
- O&O ShutUp10++: An incredibly useful, completely free piece of software designed specifically for managing intrusive Windows telemetry and turning off hidden background services.
- Crucial Storage Executive: If you’re running an NVMe SSD, you should always install the manufacturer’s dedicated software. Doing so grants you access to vital firmware updates and enables helpful features like drive caching. Upgrade to a Crucial NVMe SSD.
Frequently Asked Questions (FAQ)
Does adding more RAM speed up Windows 11?
Absolutely. While Windows 11 technically requires a minimum of 4GB of RAM to function, it realistically needs at least 16GB for a smooth multitasking experience. Upgrading your system’s memory stops your PC from relying on the significantly slower page file stored on your hard drive.
Why is Windows 11 slower than Windows 10?
Windows 11 comes packed with heavier visual elements, dynamic widgets, and much stricter background security protocols, such as VBS and TPM requirements. Ultimately, these modern additions place a higher demand on your CPU and memory than Windows 10 ever did.
Is it safe to disable background apps in Windows 11?
Yes, it’s completely safe. Stopping third-party background apps like Spotify, Skype, or Discord from running won’t harm your computer in the slightest. With that said, you should definitely avoid disabling core Microsoft system services unless you know exactly what they do.
Will defragmenting my SSD improve speed?
No, it won’t. In fact, you should never defragment an SSD, because the process causes unnecessary wear and significantly reduces the drive’s lifespan. Instead of defragmentation, Windows utilizes the “TRIM” command to intelligently optimize data placement on solid-state drives. Just make sure TRIM is enabled through your built-in drive optimization tool.
Conclusion
Dealing with a sluggish PC can severely impact both your daily productivity and your gaming experience. By taking the time to follow the steps outlined above, you can significantly enhance how responsive your system feels.
From completing simple tasks like disabling startup programs to executing highly advanced registry tweaks, understanding exactly how to speed up Windows 11 gives you total control over your hardware. Try to make these optimizations a regular part of your routine IT maintenance.
Go ahead and implement these strategies today. Before long, you’ll be enjoying a vastly faster, cleaner, and far more efficient operating system.